Discover
What we do
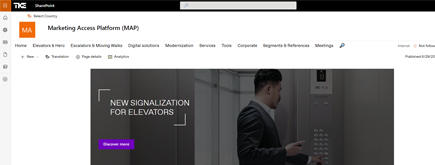
TKE SharePoint rebranding
TKE, a global elevator leader, consulted with NIFTIT to overhaul their SharePoint site for the Asia Pacific team. Enhanced search, mobile usability, and multilingual interface ignited innovation.
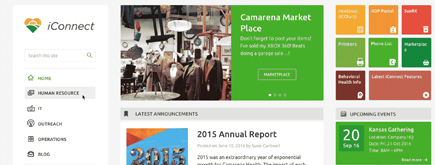
Camarena Health
NIFTIT's expertise in advanced UI/UX design combined with the functionality of Microsoft 365 transformed Camarena Health's digital landscape, driving efficiency and engagement.
The New York Metropolitan Transportation Council (NYMTC)
Discover how NIFTIT improved data access and enhanced collaboration for NYMTC by leveraging SharePoint, optimizing data connections, and orchestrating business automation workflows.
NIFTIT LLC
85 Delancey St, 2nd Floor, New York, NY 10002, USA 1-848-272-0977
Create and Deploy Your Own Custom SharePoint Theme
By
 Khoa Q.
Published 3 years ago
~2 minute read


Before we get started, make sure you have the latest version of SharePoint Online Management Shell installed. Note we will need the Add-SPOTheme command in order to perform this tutorial. Here is how to create and deploy your own custom SharePoint theme
1. Create the Custom SharePoint Theme
Go to https://developer.microsoft.com/en-us/fabric#/styles/themegenerator in order to create you own theme. You will be able to change items like the primary theme color, body text color, and body background color. A cool feature is that you can see live how the changes you make will impact the readability and accessibility of your SharePoint site. The most important part here is to copy the PowerShell column once you are done.
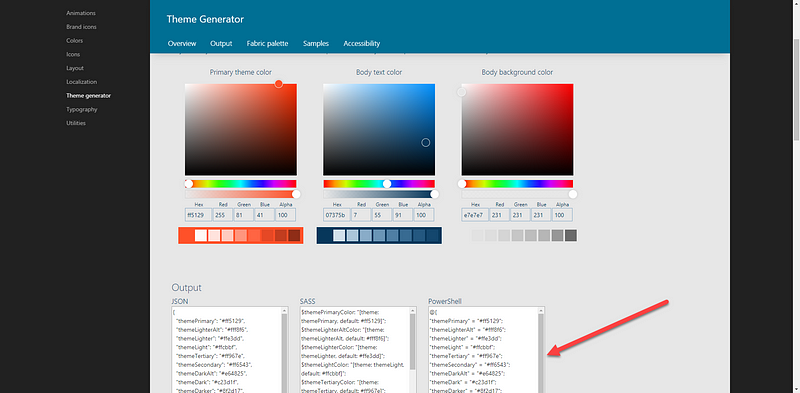 Make sure to copy the PowerShell shared with you.
2. Update the Script
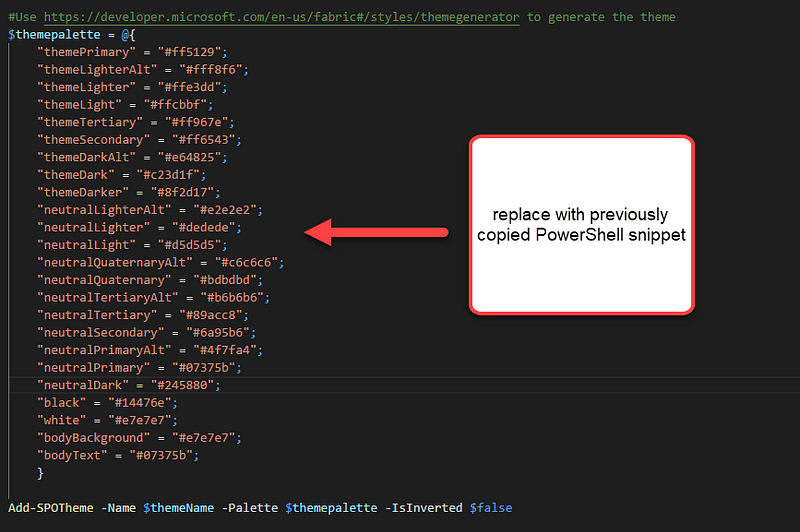
Go to https://docs.microsoft.com/en-us/powershell/module/sharepoint-online/add-spotheme?view=sharepoint-ps and get the script shared with you into a .PS1 file. You will need to add the SPO-Connect command with the right tenant information in order to connect then replace the code in the $themepalette array.
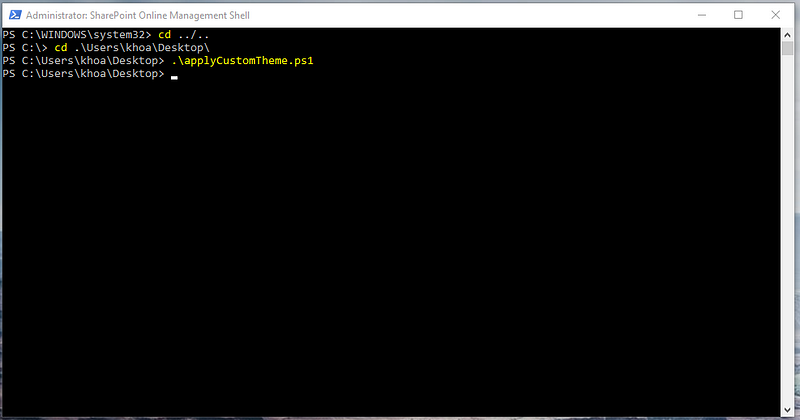
 Run the script.
3.Verify and Apply the New Look
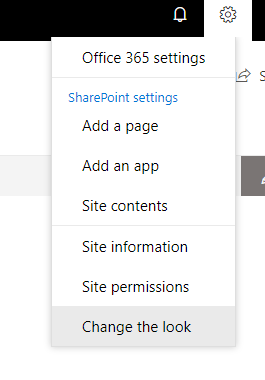
Connect to the SharePoint site within the targeted tenant. If you go to one of the site pages, you should see the “Change the look” option from the cog wheel dropdown.
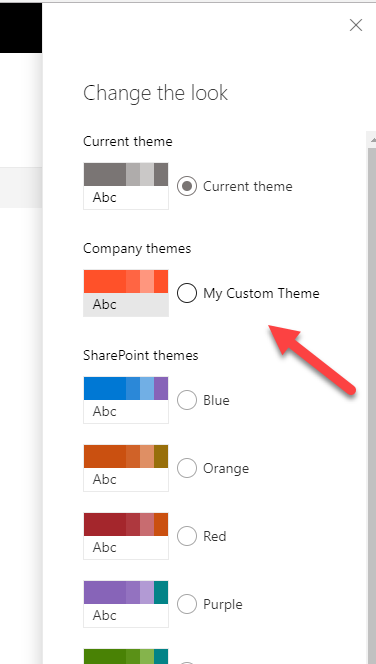
Click on that option and then select the “My Custom Theme” that you have created (it will show under “Company themes”). Don’t forget to click “Apply”.
Here at NIFTIT, from Office 365 consulting to SharePoint solutions, we can handle projects of any size and difficulty. We follow industry standards and best practices to build world-class solutions. learn more about our services here!